
Lesson Objectives
|
Core Use and explain the advantages of adding images to a document Challenge Apply text justification around an image to create an improved document design Super Challenge Generate and enhance documents using advanced features such hyperlinking and positioning of images |
Keywords
Images Design Drawings Alignment Wrap Insert In line Wrap Break Format Appropriate audience Clip Art Stock photo
Starter - The Newspaper Comparison - 5 mins
- You will look at two versions of the times newspaper
- They look very different.
- Discuss the differences with your partner
- Which would you choose to read and why?
Why do images improve a document?
How images improve documents?
- Why are images used in books, magazines and websites?
- How do you know if you have the chosen the correct image to include?
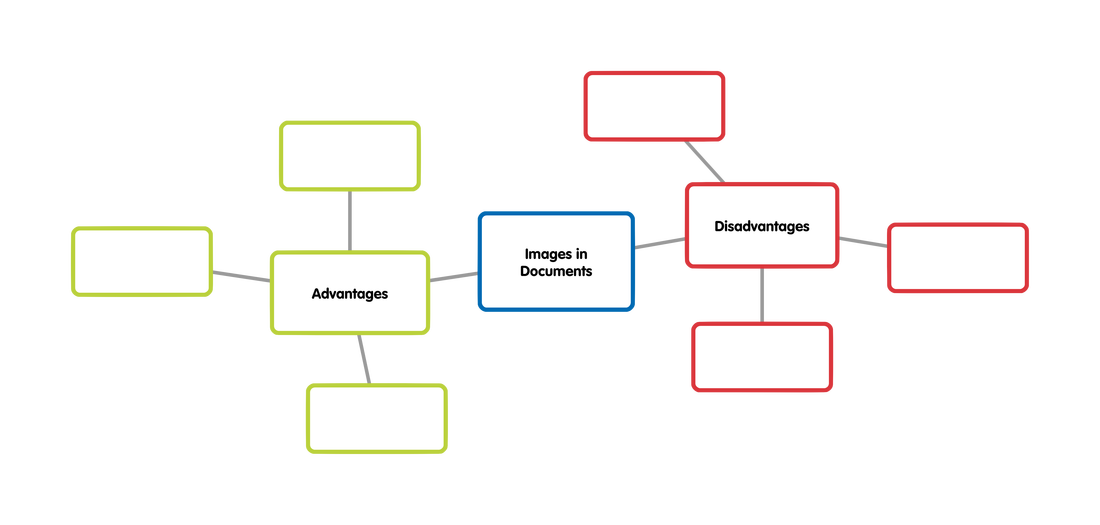
Task 1 - Mind Map: Image Advantages and Disadvantages - 20 mins
You will use your exercise book for this task.
Below is an example of an incomplete mind map.
Below is an example of an incomplete mind map.
- Work for 10 min alone to add as many advantages and disadvantages that you can think of.
- Share your ideas with the person next to you
- Improve your mind map after sharing your ideas
Task 1 - Challenge
When you have completed your mind map, then you can work on this challenge
Research using the internet
Use your exercise book to write about each these subjects:
Research using the internet
Use your exercise book to write about each these subjects:
- What is Clip Art?
- What is Stock Photography?
- What are they used for?
- Are they free to use?
- Where do you find them? (Websites?)
- Who makes them?
Inserting Images into Google Docs - 5 min
Your teacher will demonstrate how to insert an image into Google Docs.
Whilst your teacher is demonstrating this you should keep notes in your exercise book to remember how to do this for yourself
Whilst your teacher is demonstrating this you should keep notes in your exercise book to remember how to do this for yourself
Task 2 - Formatting an image position in Google Docs - 20 mins
In this task you will be provided with a document that has an image in it. You will look at the formatting options for setting its position next to text. You are going to try to work out the differences between three formatting options and then write what you discover in your exercise book.
- Open the icon below "Task 2 - Positioning of Images in Google Docs"
- This will open the task sheet in Google Docs
- Follow the instructions in the document - experiment with the positions of the image
- Explain what you see in your exercise books
Task 2 - Positioning of Images in Google Docs
Task 2 Challenge
Complete this challenge after working out the image positioning.
In Lesson 1 you labelled a picture of the toolbar in your books. Now you will do this in Google Docs.
Use the Extension Task file below which contains an image of a Google Docs toolbar.
In Lesson 1 you labelled a picture of the toolbar in your books. Now you will do this in Google Docs.
Use the Extension Task file below which contains an image of a Google Docs toolbar.
- Open the file below
- Click on the image in the file
- Select edit
- You should see a drawing window appear where you can add lines and text
- There is a toolbar for drawing
- The diagonal line adds lines
- The box with a T inside adds text
- Label each to the toolbars icons
Extension Task - Use this document to complete the extension task
Finally...
- Check you have all the keywords in your book from Lesson 1.
- Add the keywords from Lesson 2.
- Underline the keywords you have learned in this lesson.